HI friends! this week is FLYING by for me. how's it going for you?
first things first. thank you all for the outpouring of love & excitement y'all have shown for our new collection, RISE UP. we are so excited and this particular series is so special to us. it's really where we want our hearts to be & for that to resonate with y'all is so encouraging. it's like we're on the right path or something. i'm praying for the winner of the giveaway already. is it going to be you?! be sure to enter HERE. {winner will be announced Monday @ noon!}
today i have something super special for y'all. it's something that julie & i have been working on + contemplating for a while now. {it was actually her idea, y'all. just being real, here.}
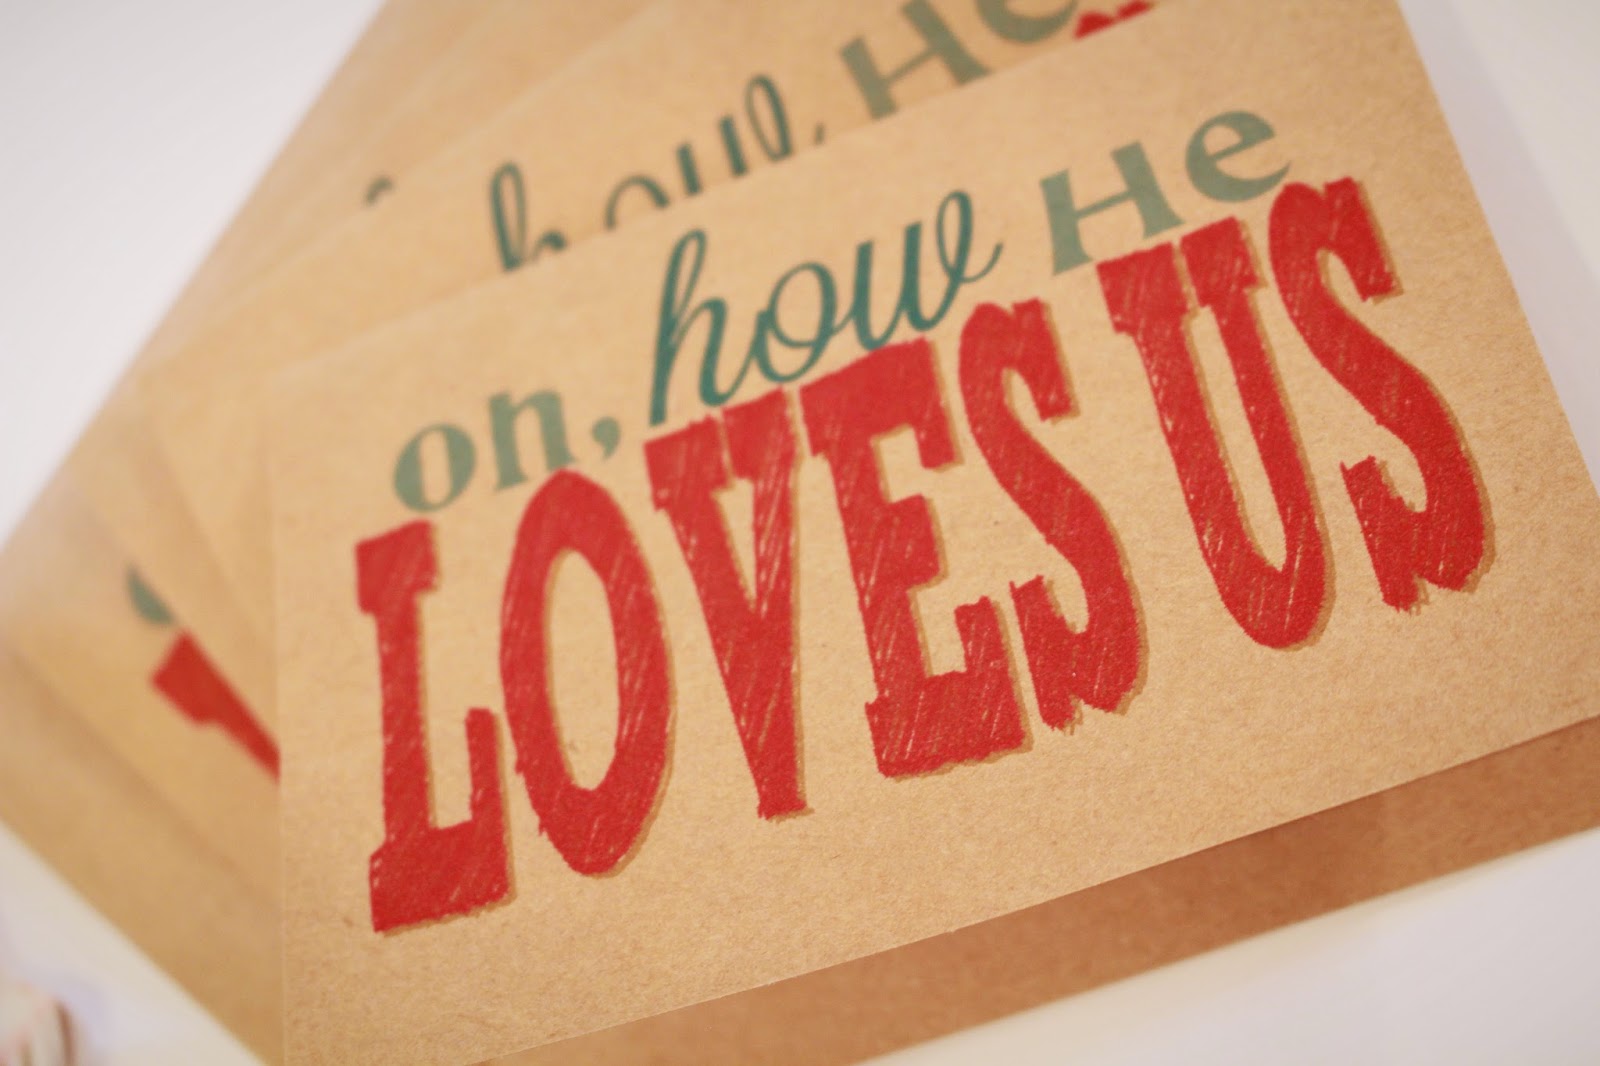
we LOVE the cards that we have made for our previous shows. so we thought, what if we brought them to YOU as downloads???
whaat?
yup. that's what we're doing today, just in time for you to send some pretty love notes to your sweet friends. or even package up a little pretty to drop off on a front porch near you. maybe with some - i don't know - chocolate?
{see previous post!}
so, this is my first try at doing a tutorial like this, so please shoot us any questions you have via email or in the comments below. if this works well for y'all we will definitely do it in the future on etsy & even more freebies, so get 'em while you can!!
{disclaimer // i have a mac so all of these pics are on mac. i believe your steps will be the same if you have a PC but you'd be opening on either adobe reader or adobe photoshop. the key is going to be getting your paper size right.}
after you click the above link, your screen should look like this:
and then click on the card you want to download first. i did the "oh how He loves us" file.
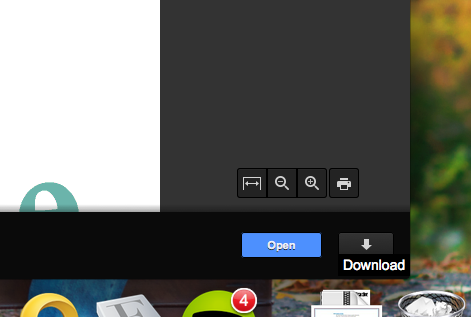
next you'll want to click that download arrow in the very bottom right corner. {shown below.}
save your file wherever you want. i find the desktop works well on PC's. on my mac it goes straight to my downloads folder. {see next image.}
downloads folder. click your file {wherever it resides.}
for mac, your file will most likely open up in the preview application. perfect. if you're on a PC this is where you'll differ. i'd suggest adobe reader or photoshop if you don't have a preview application similar to below.
then click print & this screen will come up. notice how it's not the right paper size. this is the KEY part. {besides your presets being on BEST QUALITY prints as opposed to black/white draft prints. i cannot tell you how many times i've done that! this is NOT when you want to save on ink.}
click on the paper size, and then click the manage custom sizes. PC's should have an option similar to this as well.
these cards are formatted for 4" x 5.5" cards. i buy mine at hobby lobby but they have them at joann as well, it's just a different brand. just make sure they're the same size. you can get any color, the white is nice too - i'm just more of a kraft paper girl.
so this is where you'll format your sizes. click the plus button at the bottom left and add a new custom size. the width is 5.5 inches and the height is 8 inches. i also have my margins set at .1" but you can set them to 0" if that works better on your printer.
then click ok and you'll come back to this screen. again, double check your paper size. you can't check it too much.
then make sure it says "fill entire paper". i've done it both ways and it works either way, but i like it to go edge to edge.
and then you load your cards in your printer. your printers will vary. {ignore all of the sawdust on my printer table below. it's EVERYWHERE in my studio.} please let me know if you have any questions and i'll try my best to answer them. i just stick them long ways in my printer and adjust the side of the tray to their sizes. easy peasy.
you may want to try one at a time at first until you get the hang of it.
and then you end up with a card! fold it up & you're ready to go! i like to gift sets of them. perfect for teachers!!
let me know how they turn out for you!
and
i'd love for you to share this with your friends, but please link to
this original post instead of the google doc. thanks, loves!!!!!
i hope you can bless someone today with these. xoxo.